1. Register a Domain Name
This domain name, eg pluraldemo.com can be registered with any registrar, for example Google Domains, GoDaddy, or Namecheap.
2. Create a DNS Zone in Your Cloud Provider Console Corresponding to the registered Domain Name
Follow the instructions for creating a DNS Zone named pluraldemo.com within the DNS service of your cloud provider.
Record the nameservers corresponding to this zone.
3. Update name servers
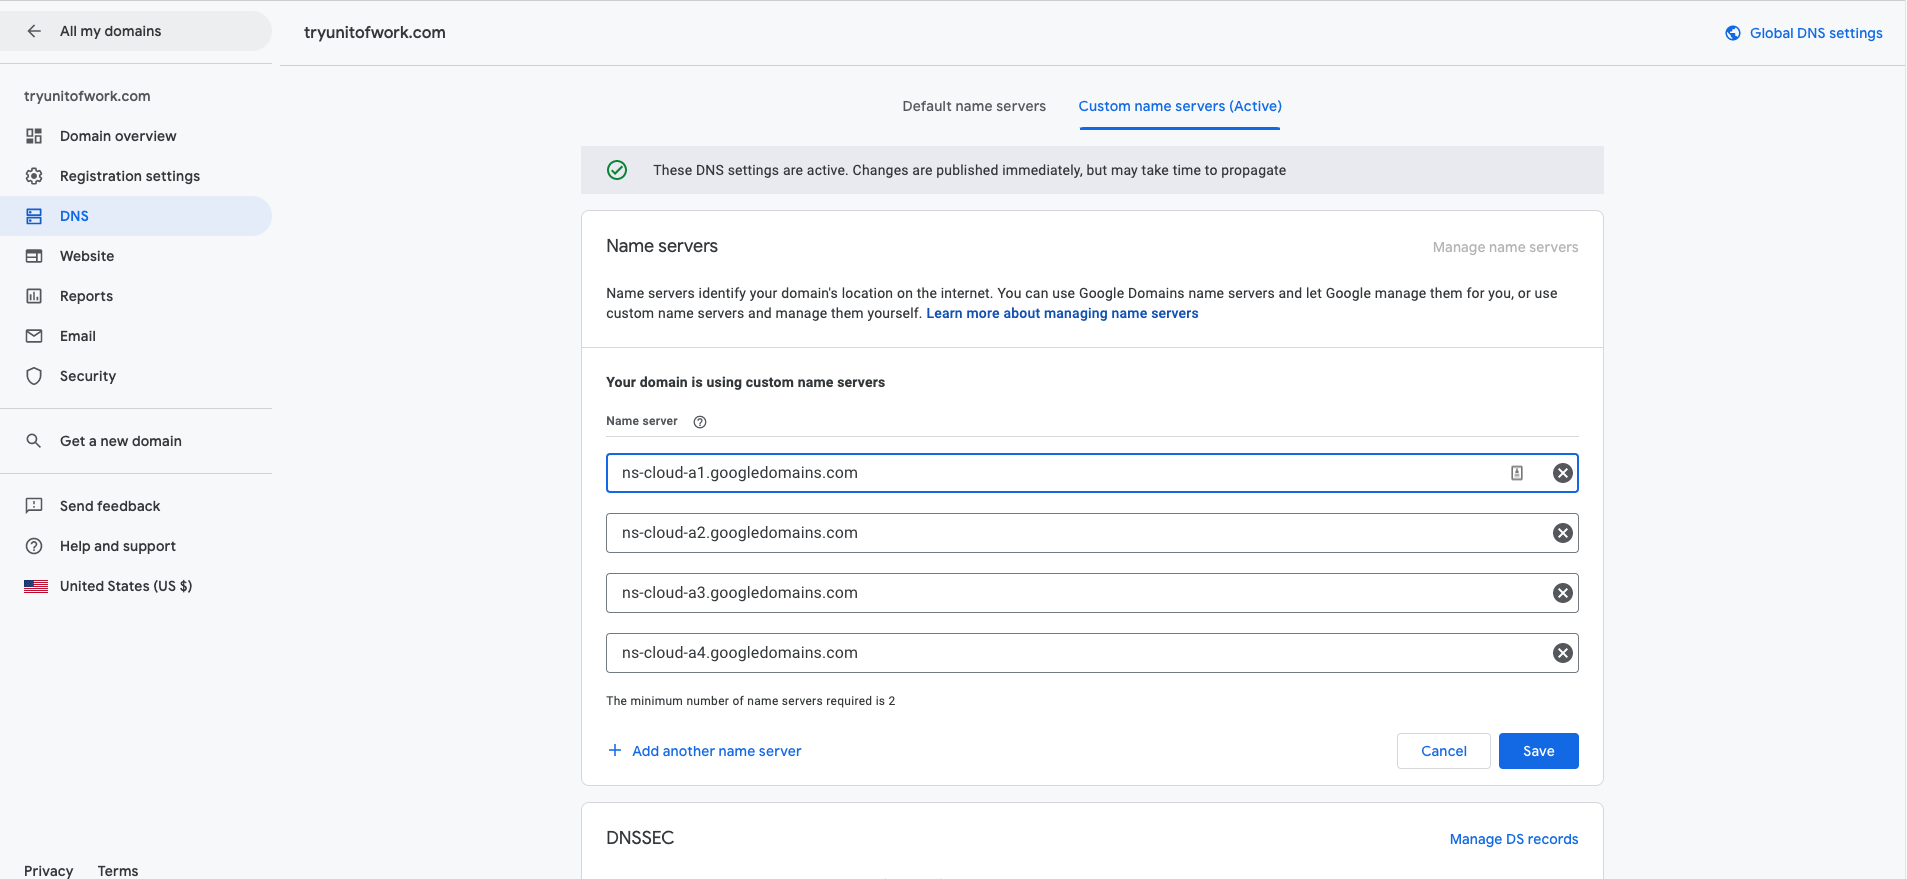
Go back to where you registered pluraldemo.comand add the nameservers from Step 2 as "custom nameservers" under its DNS configuration.
Info:
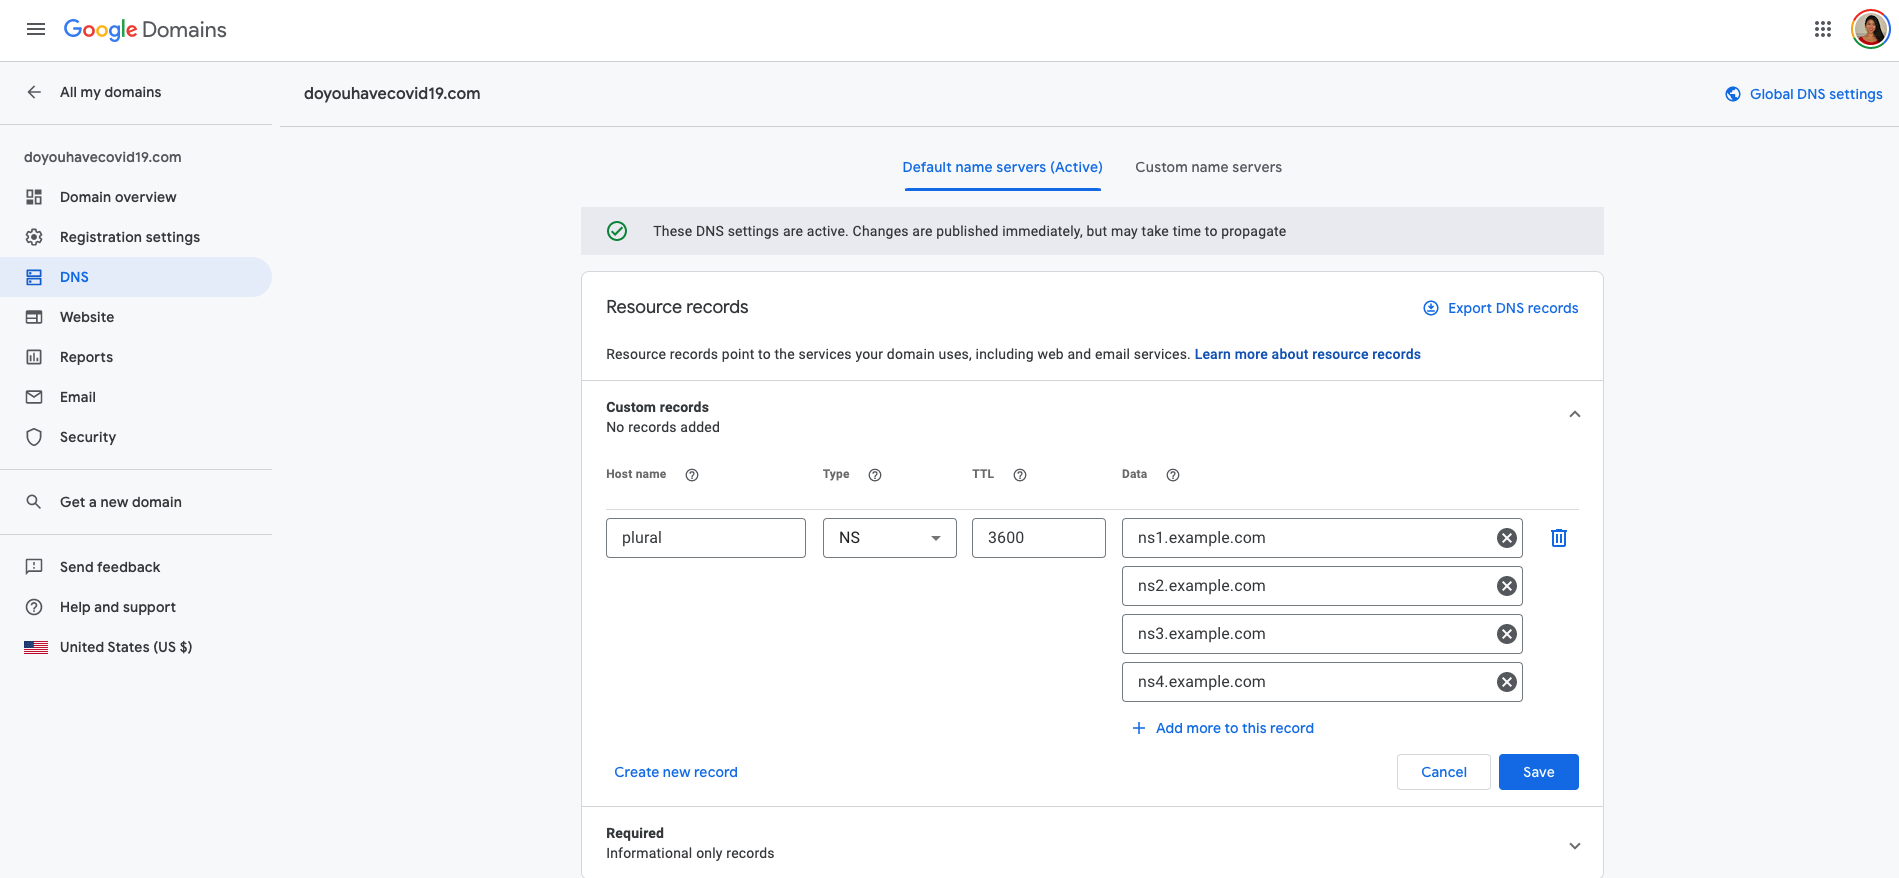
The domain name registrars will typically provide default name servers and also the ability to set up custom name servers. For example, in Google Domains, you can set custom name servers under the DNS tab once you click into a specific domain name.

Configuring Externaldns for your cluster
There are two ways this can be done:
- for a new cluster
- for an existing cluster using plural's dns service you want to switch over
Fresh Cluster
For a fresh cluster, you'll be prompted in plural init whether you want to enable plural dns. Simply answer no, provide the subdomain you created above, and we'll configure externaldns correctly for you from the start.
Existing Plural Cluster
For existing clusters, there's a bit of cleanup you'll need to do to reconfigure from plural dns. You'll want to edit the workspace.yaml file at the root of your repo to set false to the pluralDns entry. You'll also want to rewire the subdomain to point to your new subdomain so domain validation works in the future.
Additionally, in the context.yaml file, there will likely be a number of dns entries in the configuration for your apps, you'll want to move those to the new subdomain as well (the old plural dns records will still work during this transition).
Once all this is done, you can reconfigure all the helm charts with plural build then run plural deploy to apply them.
