Sign in to the AWS Management Console and open the Route 53 console at https://console.aws.amazon.com/route53/.
If you're new to Route 53, choose Get started under DNS management, and then choose Create hosted zones.
If you're already using Route 53, choose Hosted zones in the navigation pane, and then choose Create hosted zones.
In the Create hosted zone pane, enter a newly registered domain (eg
pluraldemo.com), or a subdomain (eg,plural.pinterest.com).For Type, accept the default value of Public hosted zone.
Choose Create hosted zone.
Now in the navigation pane, click Hosted zones. On the Hosted zones page, choose the radio button (not the name) for the hosted zone, then choose View details.
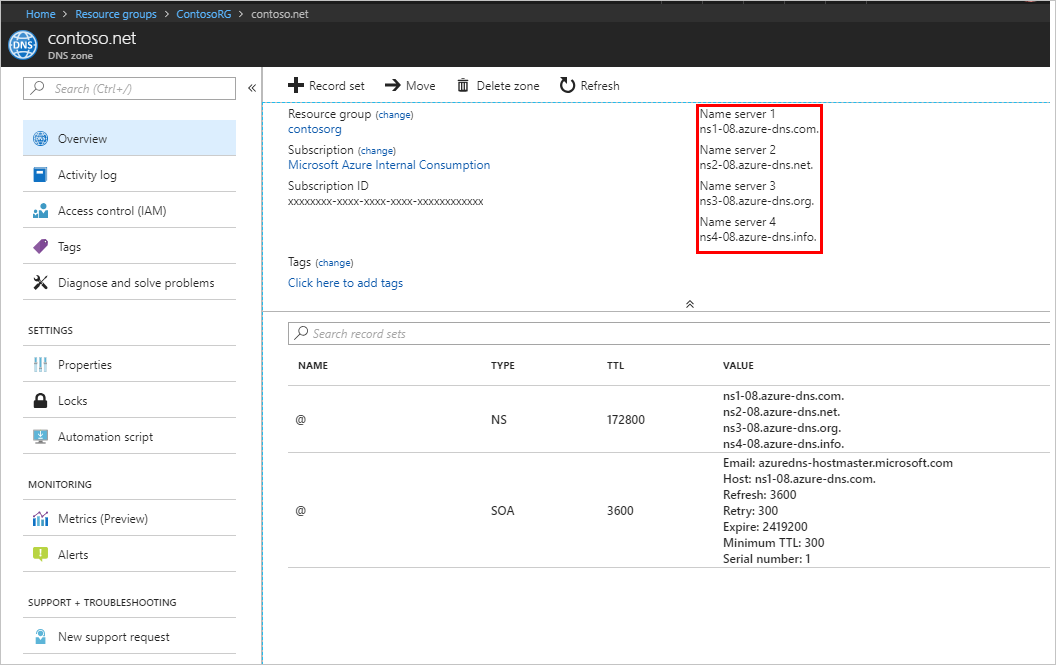
On the details page for the hosted zone, choose Hosted zone details. Make note of the four servers listed for Name servers. You will need these records to proceed with Step 3.
- Docs
- Operations
- Setting up Third Party DNS
- Creating a DNS Zone in Console
Creating a DNS Zone in Console
AWS Route53
Google Cloud DNS
Azure DNS

